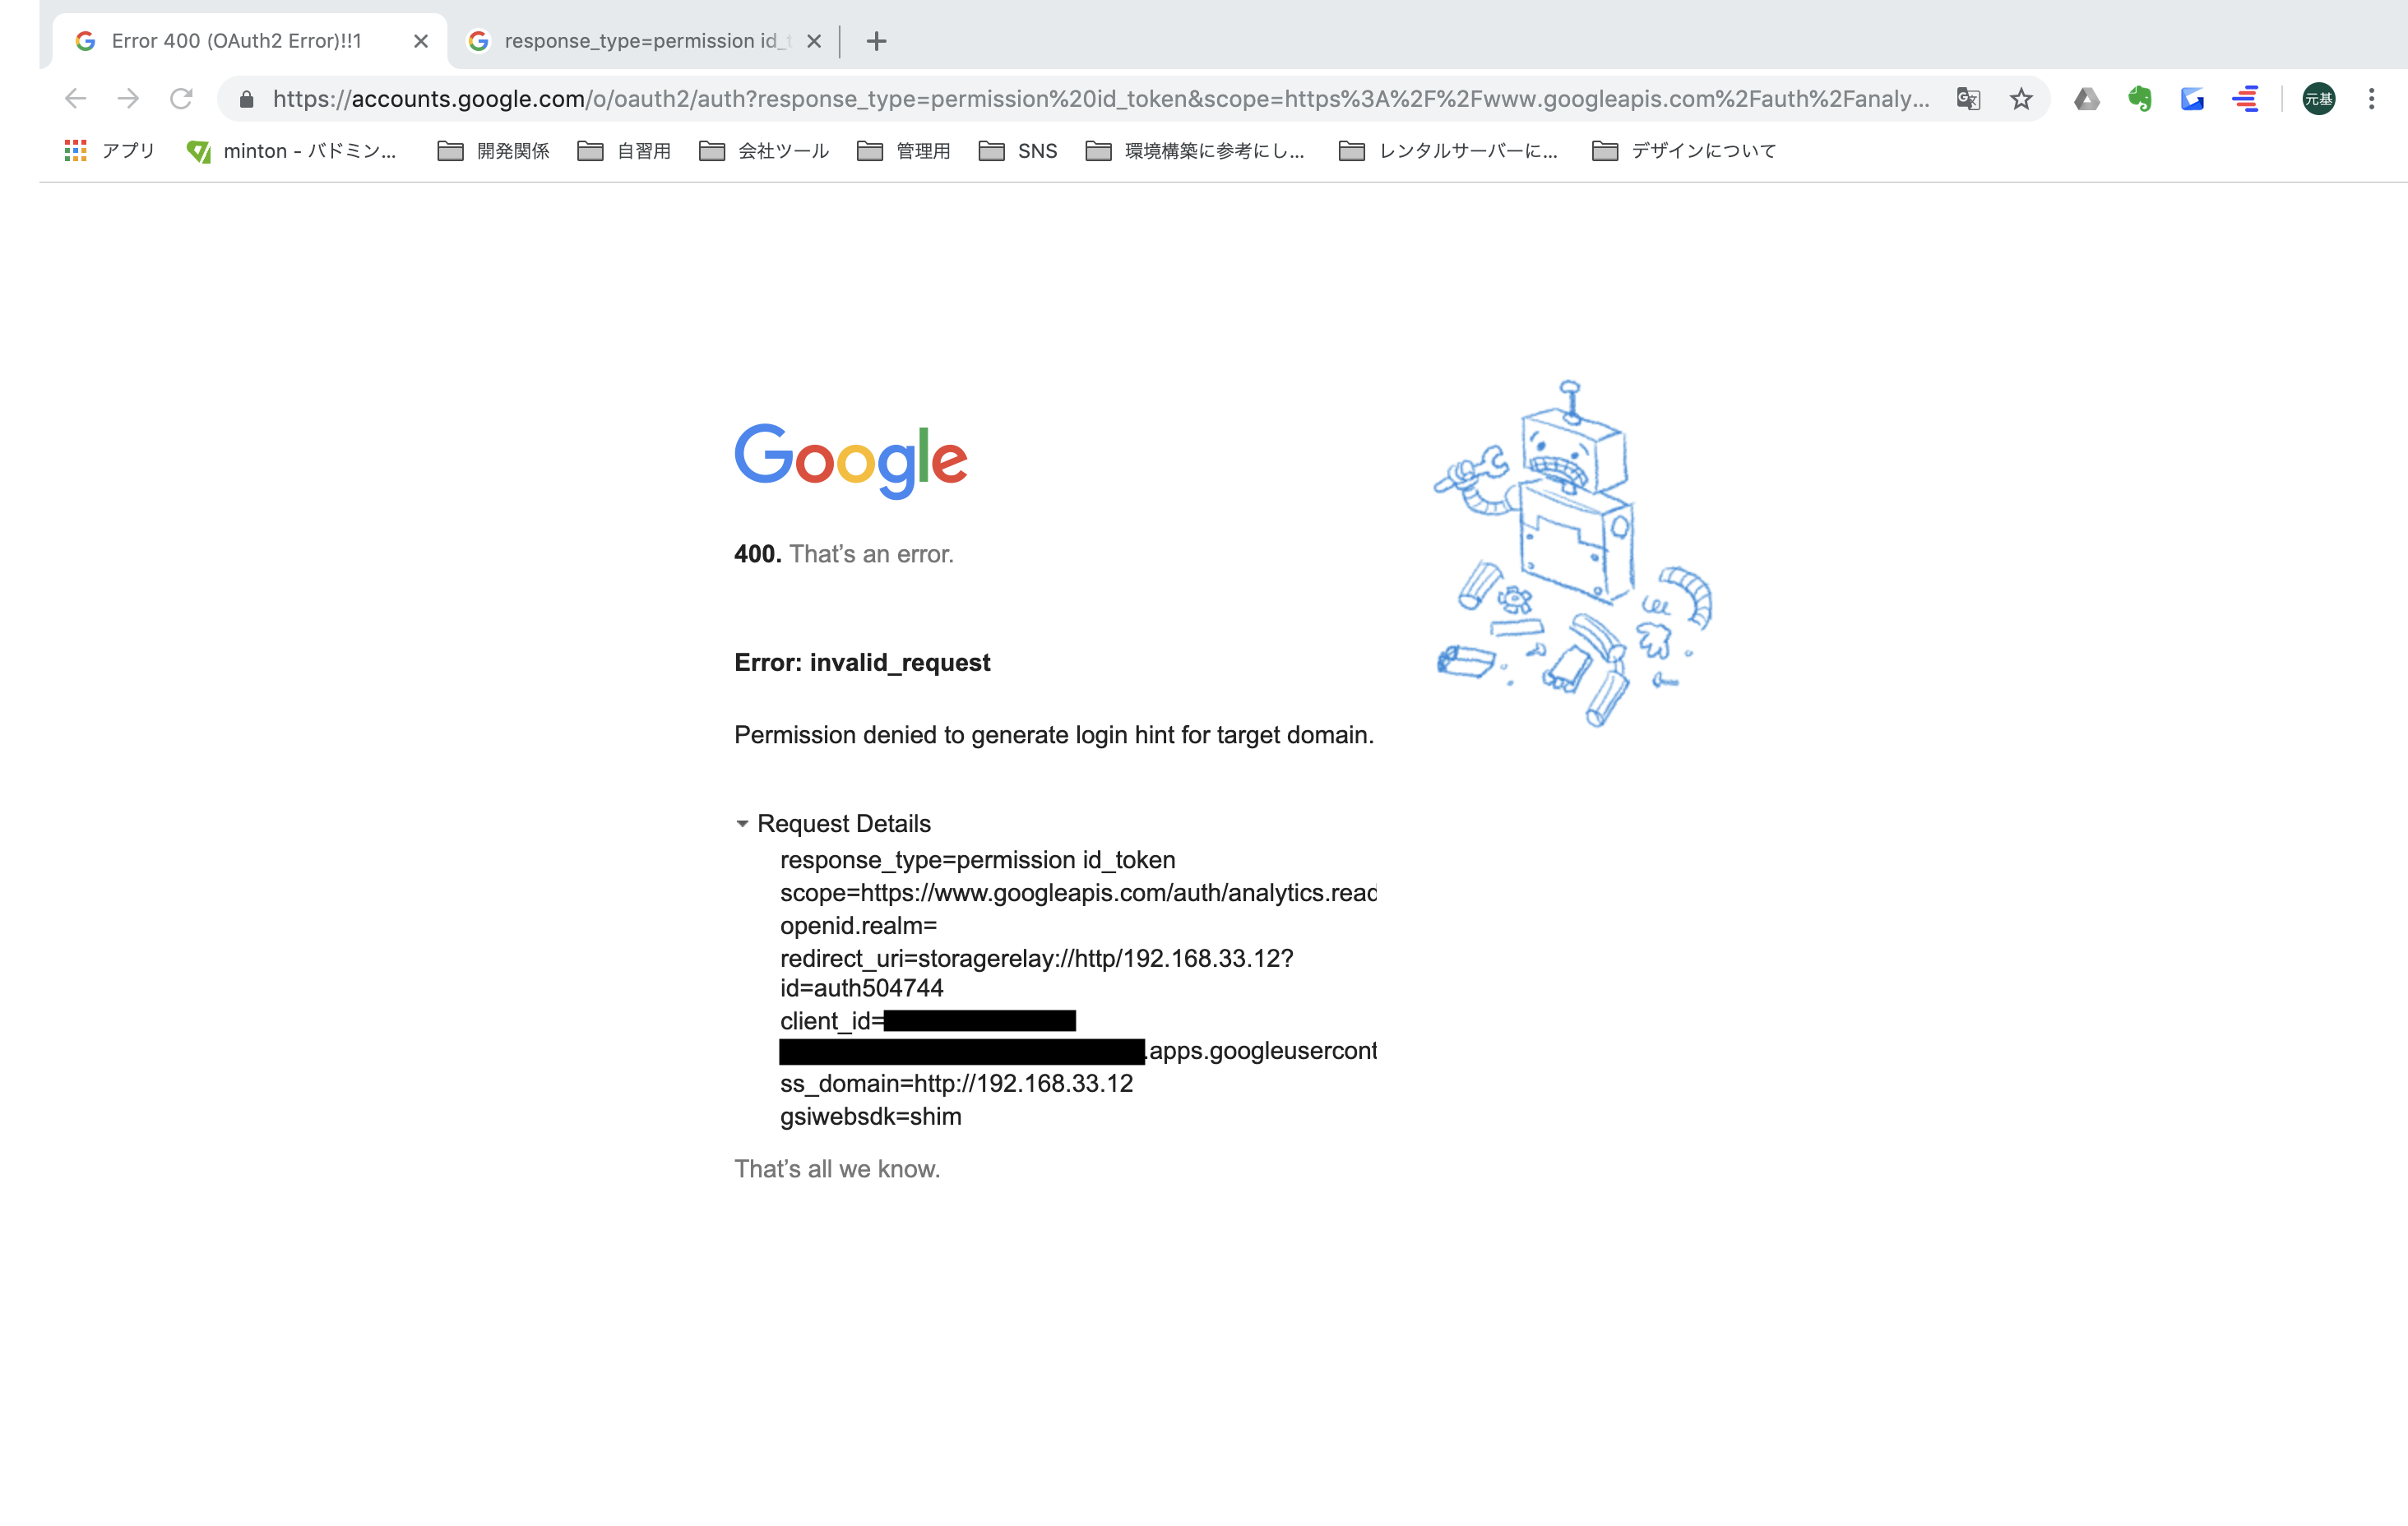
Google analyticsの公式サイトのチュートリアル(https://developers.google.com/analytics/devguides/config/mgmt/v3/quickstart/web-js?hl=ja)を試したのですが、上手く動作しません。
【試したこと】
①上記公式サイトのガイドに従い、APIの有効化・クライアントIDの作成
②公式サイトのhtmlファイル(HelloAnalytics.html)をダウンロードし、下記コードの「」部分を自分のクライアントIDに変更('' → 'xxxxx.apps.googleusercontent.com')
③Apacheが起動しているvagrant環境の共有フォルダに上記hmtlファイルを置き、ブラウザで表示を確認
<!DOCTYPE html>
<html>
<head>
  <meta charset="utf-8">
  <title>Hello Analytics - A quickstart guide for JavaScript</title>
</head>
<body>

<button id="auth-button" hidden>Authorize</button>

<h1>Hello Analytics</h1>

<textarea cols="80" rows="20" id="query-output"></textarea>

<script>

  // Replace with your client ID from the developer console.
  var CLIENT_ID = '<YOUR_CLIENT_ID>';

  // Set authorized scope.
  var SCOPES = ['https://www.googleapis.com/auth/analytics.readonly'];

  function authorize(event) {
    // Handles the authorization flow.
    // `immediate` should be false when invoked from the button click.
    var useImmdiate = event ? false : true;
    var authData = {
      client_id: CLIENT_ID,
      scope: SCOPES,
      immediate: useImmdiate
    };

    gapi.auth.authorize(authData, function(response) {
      var authButton = document.getElementById('auth-button');
      if (response.error) {
        authButton.hidden = false;
      }
      else {
        authButton.hidden = true;
        queryAccounts();
      }
    });
  }

function queryAccounts() {
  // Load the Google Analytics client library.
  gapi.client.load('analytics', 'v3').then(function() {

    // Get a list of all Google Analytics accounts for this user
    gapi.client.analytics.management.accounts.list().then(handleAccounts);
  });
}

function handleAccounts(response) {
  // Handles the response from the accounts list method.
  if (response.result.items && response.result.items.length) {
    // Get the first Google Analytics account.
    var firstAccountId = response.result.items[0].id;

    // Query for properties.
    queryProperties(firstAccountId);
  } else {
    console.log('No accounts found for this user.');
  }
}

function queryProperties(accountId) {
  // Get a list of all the properties for the account.
  gapi.client.analytics.management.webproperties.list(
      {'accountId': accountId})
    .then(handleProperties)
    .then(null, function(err) {
      // Log any errors.
      console.log(err);
  });
}

function handleProperties(response) {
  // Handles the response from the webproperties list method.
  if (response.result.items && response.result.items.length) {

    // Get the first Google Analytics account
    var firstAccountId = response.result.items[0].accountId;

    // Get the first property ID
    var firstPropertyId = response.result.items[0].id;

    // Query for Views (Profiles).
    queryProfiles(firstAccountId, firstPropertyId);
  } else {
    console.log('No properties found for this user.');
  }
}

function queryProfiles(accountId, propertyId) {
  // Get a list of all Views (Profiles) for the first property
  // of the first Account.
  gapi.client.analytics.management.profiles.list({
      'accountId': accountId,
      'webPropertyId': propertyId
  })
  .then(handleProfiles)
  .then(null, function(err) {
      // Log any errors.
      console.log(err);
  });
}

function handleProfiles(response) {
  // Handles the response from the profiles list method.
  if (response.result.items && response.result.items.length) {
    // Get the first View (Profile) ID.
    var firstProfileId = response.result.items[0].id;

    // Query the Core Reporting API.
    queryCoreReportingApi(firstProfileId);
  } else {
    console.log('No views (profiles) found for this user.');
  }
}

function queryCoreReportingApi(profileId) {
  // Query the Core Reporting API for the number sessions for
  // the past seven days.
  gapi.client.analytics.data.ga.get({
    'ids': 'ga:' + profileId,
    'start-date': '7daysAgo',
    'end-date': 'today',
    'metrics': 'ga:sessions'
  })
  .then(function(response) {
    var formattedJson = JSON.stringify(response.result, null, 2);
    document.getElementById('query-output').value = formattedJson;
  })
  .then(null, function(err) {
      // Log any errors.
      console.log(err);
  });
}

  // Add an event listener to the 'auth-button'.
  document.getElementById('auth-button').addEventListener('click', authorize);
</script>

<script src="https://apis.google.com/js/client.js?onload=authorize"></script>

</body>
</html>
【問題点】
    // Handles the authorization flow.
    // `immediate` should be false when invoked from the button click.
    var useImmdiate = event ? false : true;
    var authData = {
      client_id: CLIENT_ID,
      scope: SCOPES,
      immediate: useImmdiate
    };

    gapi.auth.authorize(authData, function(response) {
      var authButton = document.getElementById('auth-button');
      if (response.error) {
        authButton.hidden = false;
      }
      else {
        authButton.hidden = true;
        queryAccounts();
      }
    });
  }
上記の認証部分?が上手くいっていないのか、本来であれば表示されるはずの「Authorize」ボタンが表示されない。
デベロッパーツールで<button id="auth-button" hidden>Authorize</button>の「hidden」を削除して
ボタンを押すとエラー画面が表示される
↓エラー画面の内容です
400. That’s an error.

Error: invalid_request

Permission denied to generate login hint for target domain.

Request Details
response_type=permission id_token
scope=https://www.googleapis.com/auth/analytics.readonly
openid.realm=
redirect_uri=storagerelay://http/192.168.33.12?id=auth219779
client_id=xxxxx.apps.googleusercontent.com
ss_domain=http://192.168.33.12
gsiwebsdk=shim
That’s all we know.
【解決したいこと】
①このサンプルファイルのエラーを発見、解消し任意のデータを取得したい。
②このサンプルファイルを活用して、google realtime reporting apiを使って自分のwebサービスのTOPページに「現在○人が閲覧中」というアクティブユーザーの数値をwebサービス閲覧者向けに表示させたい。(スクリプトはjqueryで記述予定)(※)
※まずはサンプルファイルが動かない理由をご教示いただきたいです。
その上で可能であれば、「そもそもこのサンプルを活用することで上記②のような処理は行えるのか」「行えるのであればどのような処理を書いていけばいいのか」をご教示いただけると大変助かります。
よろしくお願いいたします。
※8/5 19:30追記
shingo.nakanishi 様の回答のおかげで「Authorize」ボタンを表示させることができました。
◎表示方法
var authData = {
  client_id: CLIENT_ID,
  scope: SCOPES,
  immediate: useImmdiate
};
上記部分を
var authData = {
  client_id: CLIENT_ID,
  scope: SCOPES,
  immediate: false
};
に変更することでボタンが表示されました。
しかし、ボタンクリック後のエラーは依然解消されていない状況です。

OAuth Errorとあるのでデータ取得以前の認証部分が正しく設定されていないとは推測できますが、具体的に訂正すべき箇所がわかりません。
引き続きご回答をお待ちしています。
よろしくお願いいたします。
gapi.auth.authorize(authData, function(response)関数で、authButton.hidden = false;が実行されているのであれば、response.errorにエラーの内容が入っているはずなので、response.errorの内容を質問を編集して追記してください。