そのUIViewControllerに以下のメソッドを加えて実際に写真を保存してみてください。
- (void)imagePickerController:(UIImagePickerController *)picker didFinishPickingImage:(UIImage *)image editingInfo:(NSDictionary *)editingInfo {

  UIImageWriteToSavedPhotosAlbum(image, nil, nil, nil);
}
もし、あなたが黒帯と言っているものの背面もカメラの撮影領域であるなら、その部分も写真として保存されるはずですが、見えている部分のみの画像が保存されたならば、半透明になっていないのではなく、ただ単に帯の後ろそのものが黒だと考えられます。
追記 : カメラUIのカスタマイズについて
参考画面

カメラUIを自作することでこのようにしていくことは可能ですが、撮影プレビューは上寄せに表示されますし、「撮影」「キャンセル」「モード切替」など、各種処理もボタンとコードを結びつけて自作していく必要があります。
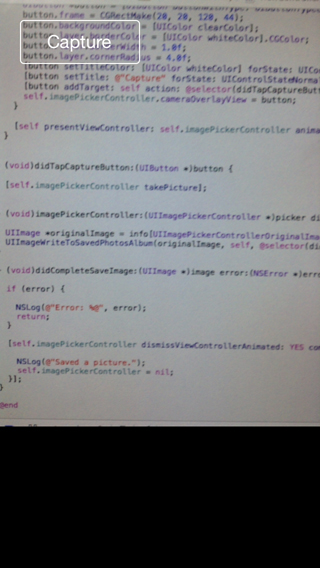
ViewController.m
#import <UIKit/UIKit.h>

@interface ViewController : UIViewController <UINavigationControllerDelegate, UIImagePickerControllerDelegate>

@end
ViewController.m
#import "ViewController.h"

@interface ViewController ()

@property (strong, nonatomic) UIImagePickerController *imagePickerController;

@end

@implementation ViewController

- (void)viewDidLoad {

  [super viewDidLoad];
}

- (IBAction)openCamera:(id)sender {

  BOOL cameraIsAvailable = [UIImagePickerController isSourceTypeAvailable: UIImagePickerControllerSourceTypeCamera];

  if(cameraIsAvailable){

    if (!self.imagePickerController) {

      self.imagePickerController = [[UIImagePickerController alloc] init];
      self.imagePickerController.sourceType = UIImagePickerControllerSourceTypeCamera;
      self.imagePickerController.mediaTypes = [UIImagePickerController availableMediaTypesForSourceType: self.imagePickerController.sourceType];
      self.imagePickerController.delegate = self;
      self.imagePickerController.allowsEditing = NO;
      self.imagePickerController.showsCameraControls = NO;

      UIButton *button = [UIButton buttonWithType: UIButtonTypeCustom];
      button.frame = CGRectMake(20, 20, 120, 44);
      button.backgroundColor = [UIColor clearColor];
      button.layer.borderColor = [UIColor whiteColor].CGColor;
      button.layer.borderWidth = 1.0f;
      button.layer.cornerRadius = 4.0f;
      [button setTitleColor: [UIColor whiteColor] forState: UIControlStateNormal];
      [button setTitle: @"Capture" forState: UIControlStateNormal];
      [button addTarget: self action: @selector(didTapCaptureButton:) forControlEvents: UIControlEventTouchUpInside];
      self.imagePickerController.cameraOverlayView = button;
    }

    [self presentViewController: self.imagePickerController animated: YES completion: nil];
  }
}

- (void)didTapCaptureButton:(UIButton *)button {

  [self.imagePickerController takePicture];
}

- (void)imagePickerController:(UIImagePickerController *)picker didFinishPickingMediaWithInfo:(NSDictionary *)info {

  UIImage *originalImage = info[UIImagePickerControllerOriginalImage];
  UIImageWriteToSavedPhotosAlbum(originalImage, self, @selector(didCompleteSaveImage:error:contextInfo:), nil);
}

- (void)didCompleteSaveImage:(UIImage *)image error:(NSError *)error contextInfo:(void *)contextInfo {

  if (error) {

    NSLog(@"Error: %@", error);
    return;
  }

  [self.imagePickerController dismissViewControllerAnimated: YES completion:^{

    NSLog(@"Saved a picture.");
    self.imagePickerController = nil;
  }];
}

@end

